Introduction
You can integrate your Rimo3 tenant with a Nerdio Manager for Enterprise installation that is in the same Azure Subscription. When integrating with Nerdio Manager any desktop images and Windows Package Manager (WPM) repositories configured in NME will by sync'ed with your Rimo3 tenant, it is also possible to manually sync your Rimo3 Tenant with NME to pickup any new desktop images or WPM repositories.
Once integrated with NME you will be able to:
- Use desktop images from NME to onboard and test applications in your Rimo3 tenant
- Export MSIX packages to NME as App Attach images (if an MSIX App Attach Storage Location has been configured)
- Export applications to Unified catalog using the WPM repository configured in NME
Configuring the connection to NME
Get Nerdio REST API Credentials
-
Login to Nerdio Manger.
-
Then on the navigation menu select Settings - Integrations

-
Under REST API select show

-
The credentials required for the next part will be displayed, leave the page open
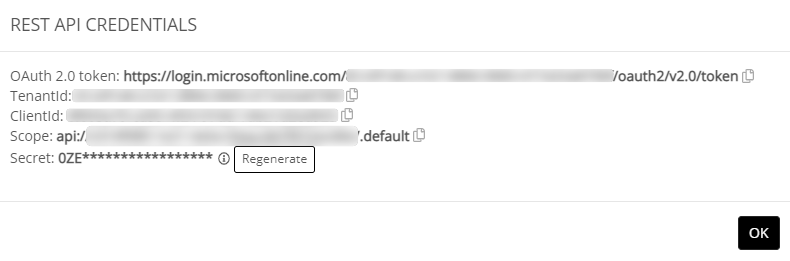
Info:
If you don't know the Secret you might have to regenerate it, however this may affect any other services using the Nerdio REST API.
Configuring your Rimo3 Cloud Tenant
To complete the configuration of Nerdio Manager in your Rimo3 Cloud tenant you will need the details from Step 4 above:
-
Login to your Rimo3 tenant with an account that has Admin rights
-
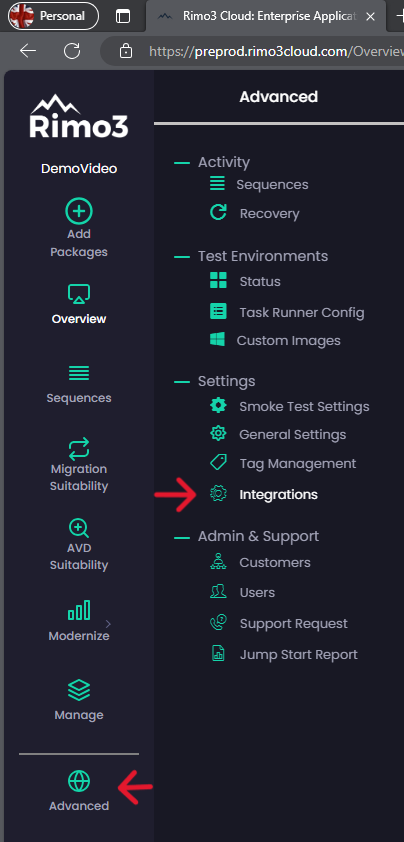
Click on Advanced – Integrations to open the Integrations Hub
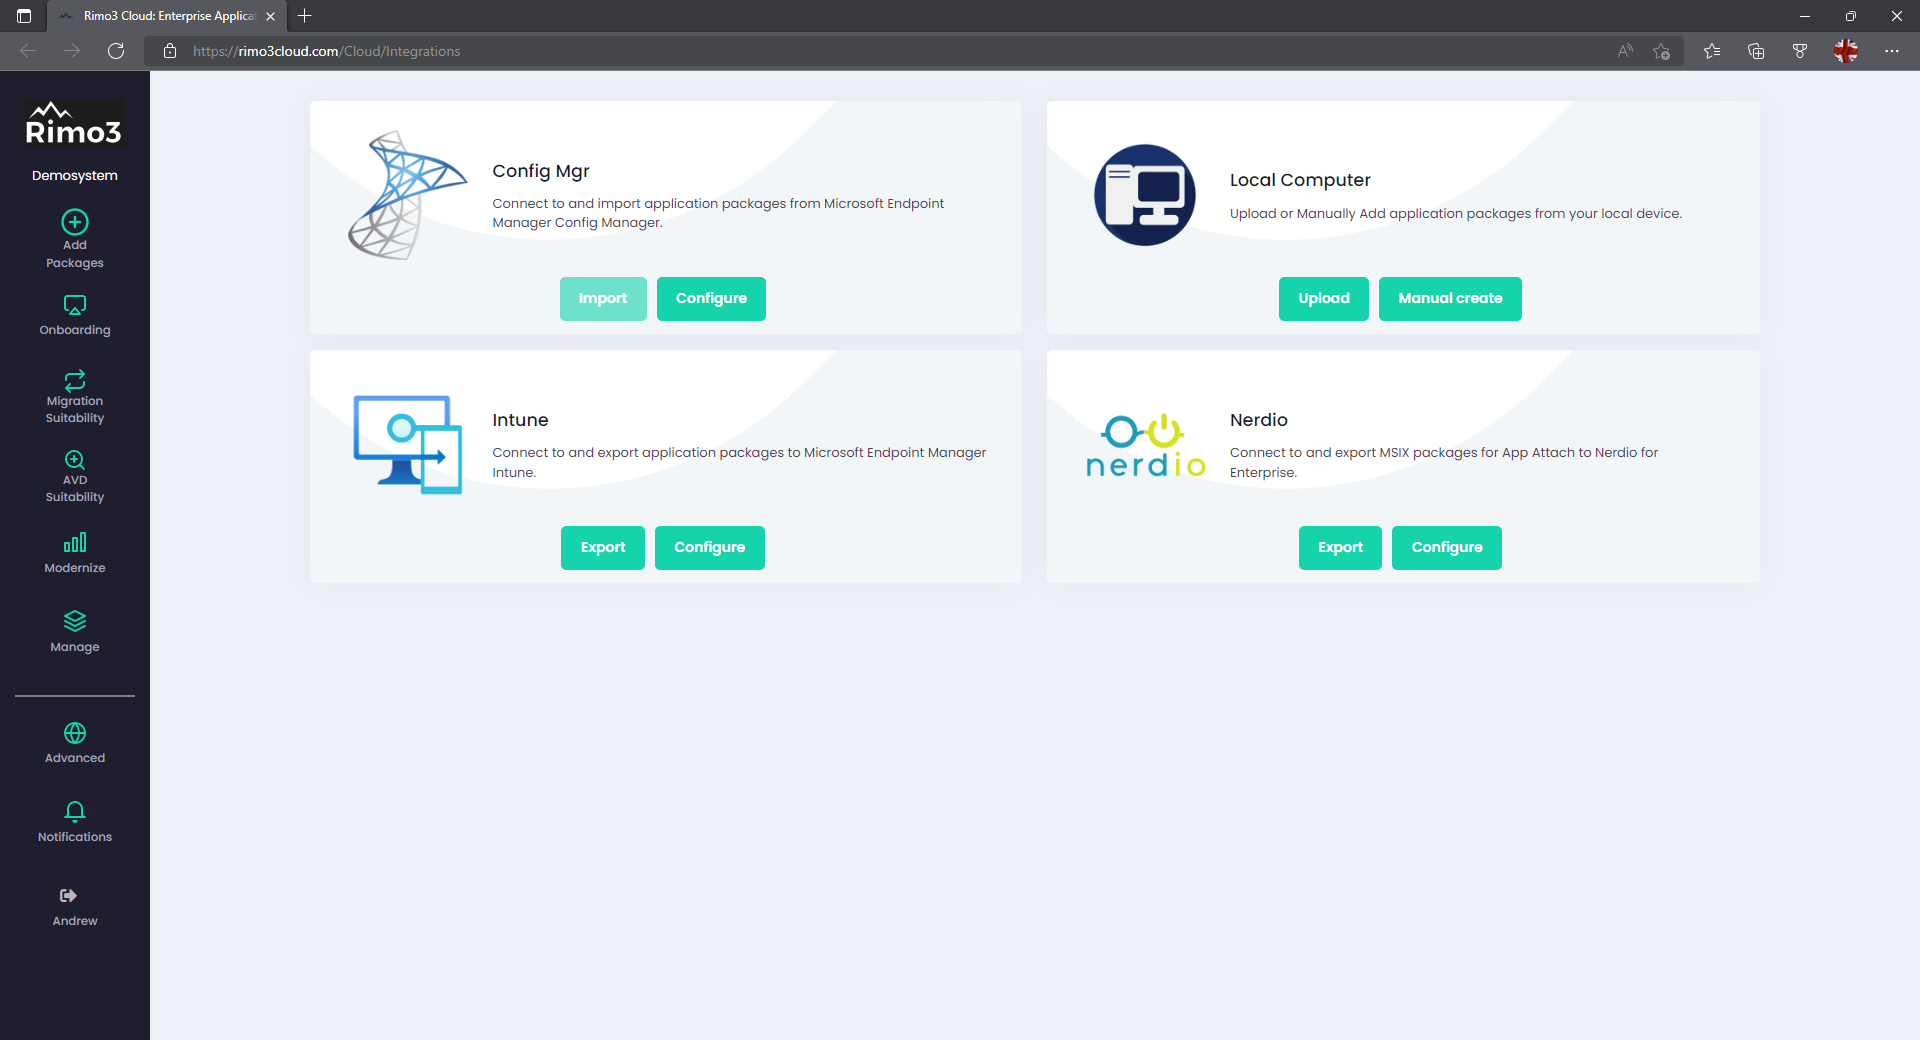
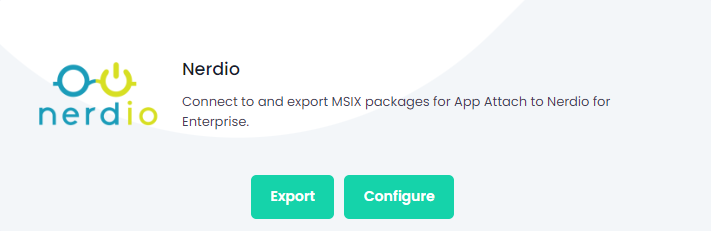
-
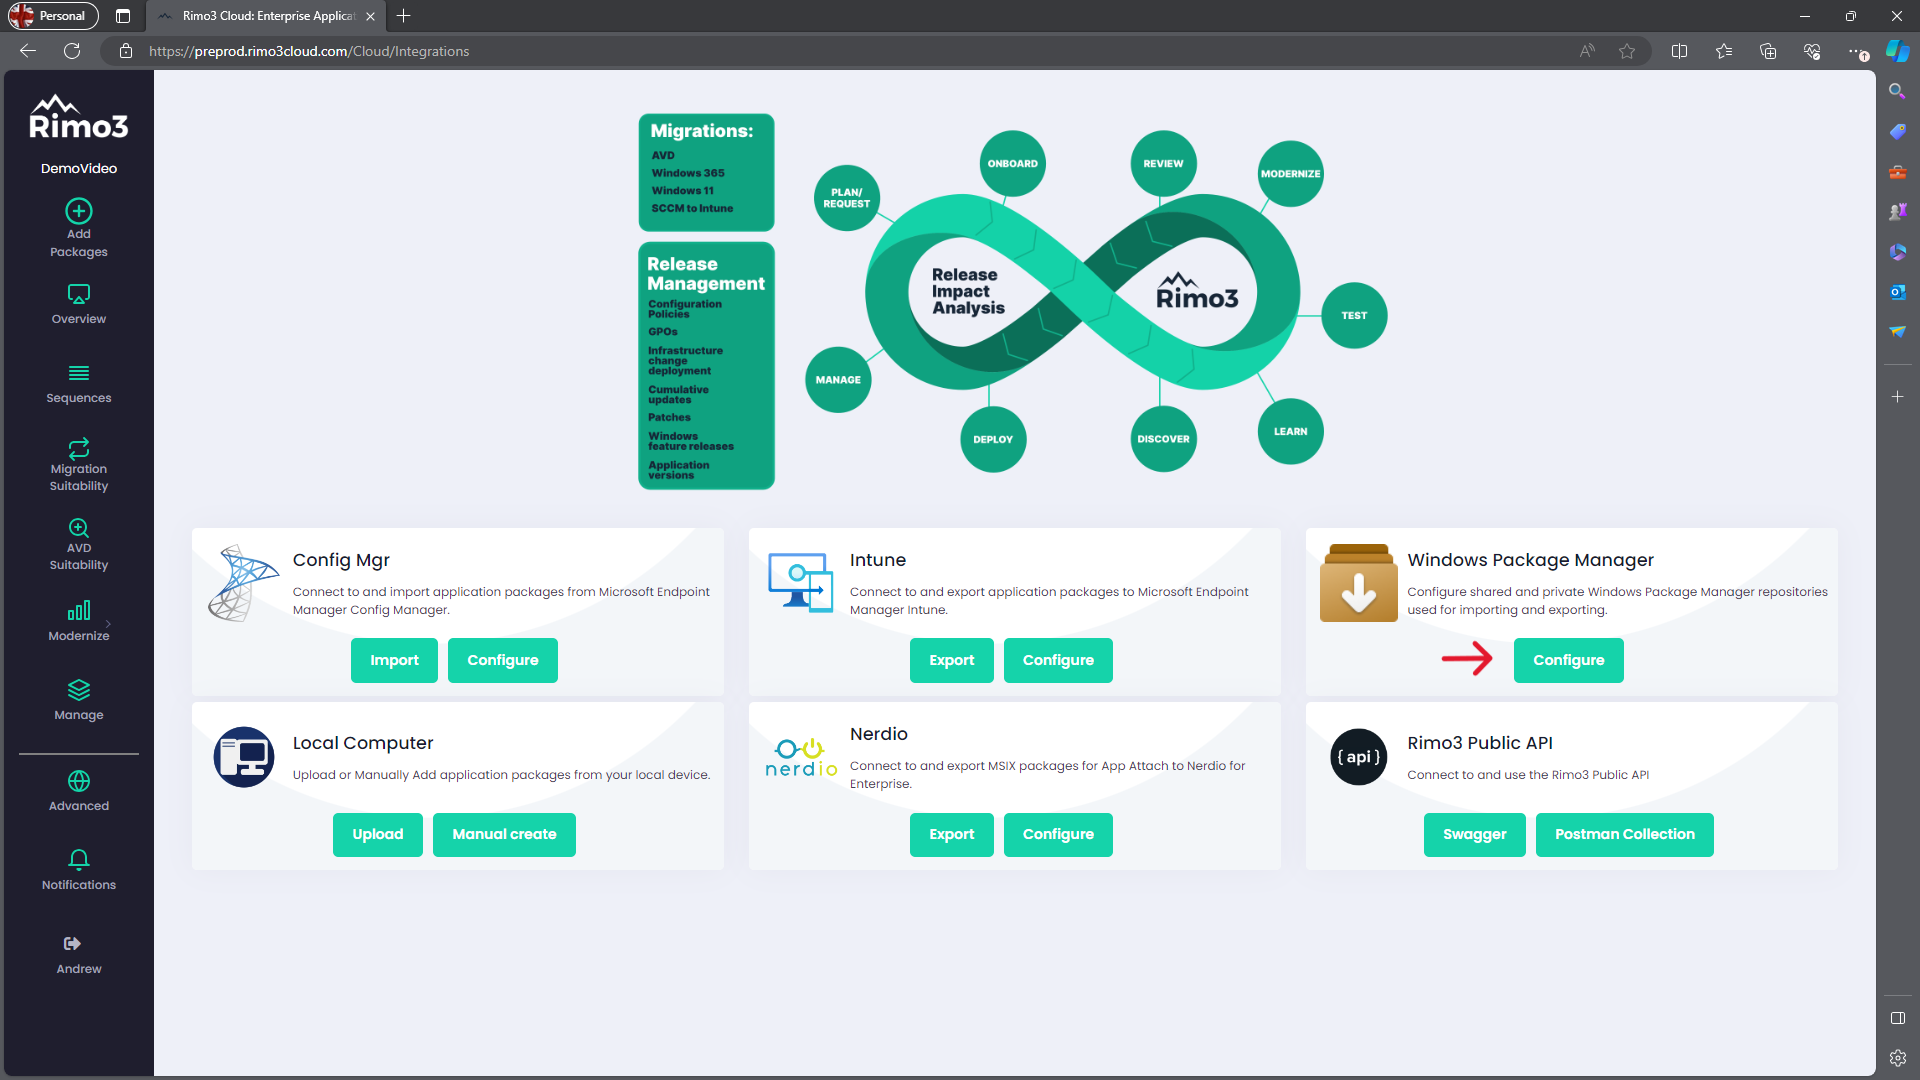
Select Configure on the Nerdio card
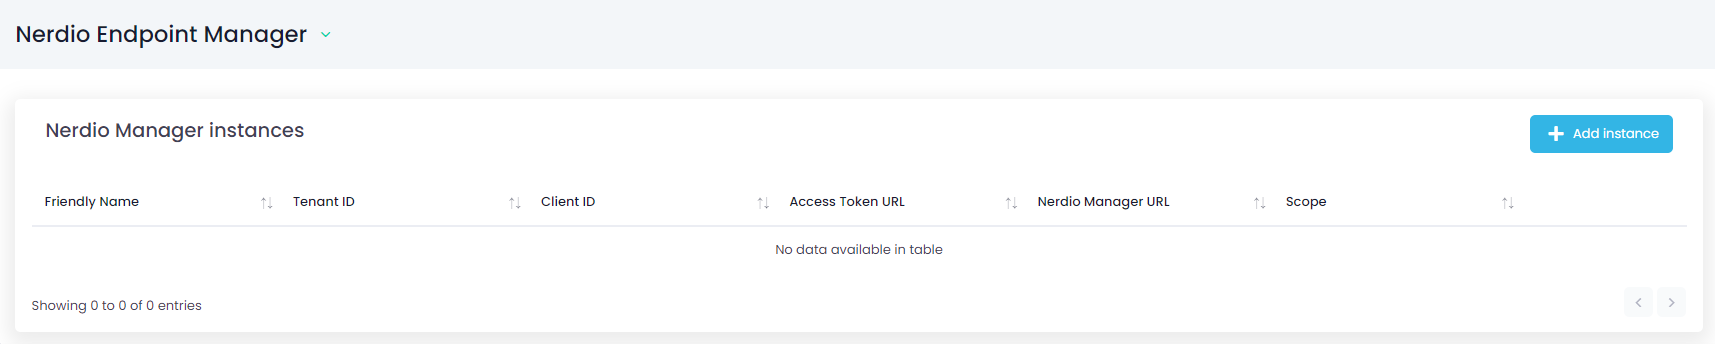
-
On the Nerdio instances card select + Add instance
-
On the Add Nerdio Manager instance dialog complete all the fields and click on Save:
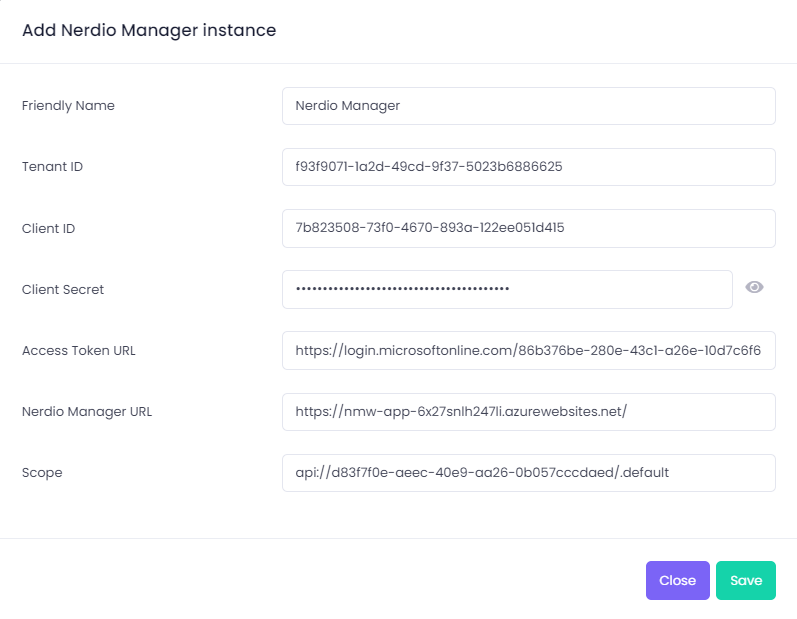
- Friendly Name – this is the name that will appear when choosing which Nerdio instance to export to
- Tenant ID – TenantId from Step 4 above
- Client ID – ClientId from Step 4 above
- Client Secret – Secret from Step 4 above
- Access Token URL – OAuth 2.0 token from Step 4 above
- Nerdio Manager URL – URL for the Nerdio Manager Instance
- Scope – Scope from Step 4 above
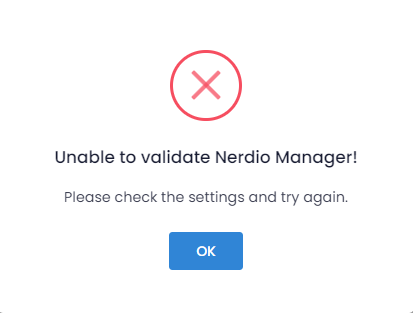
Info:
The Nerdio Manager details are validated before they are saved if any of them are incorrect then they will not be saved and you will have to update the incorrect value(s)
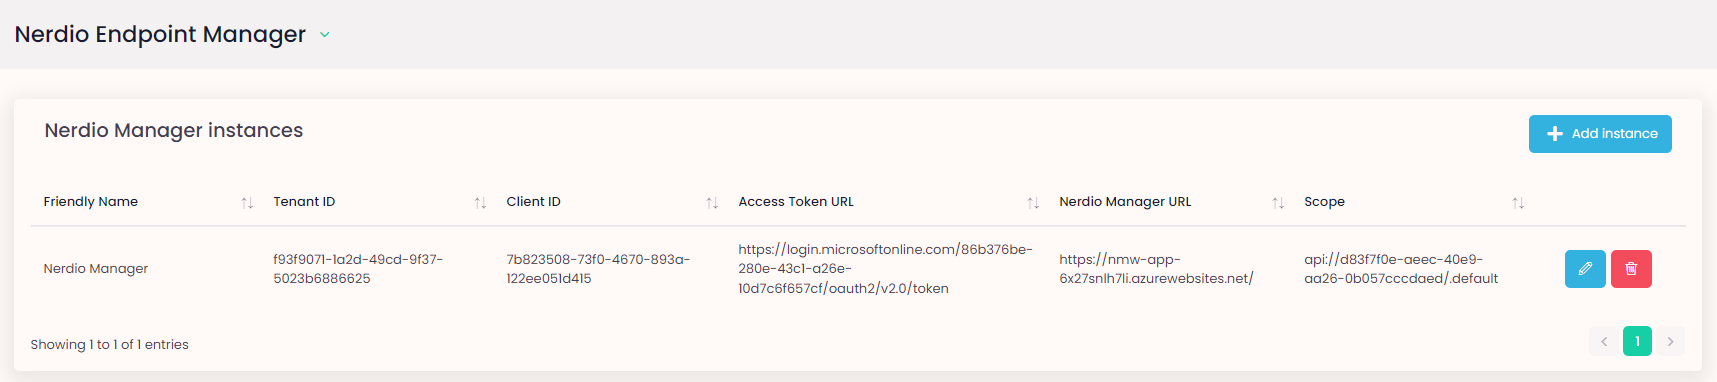
-
The configured Nerdio instance will now be listed on the configuration page, and you can start exporting packages to it.
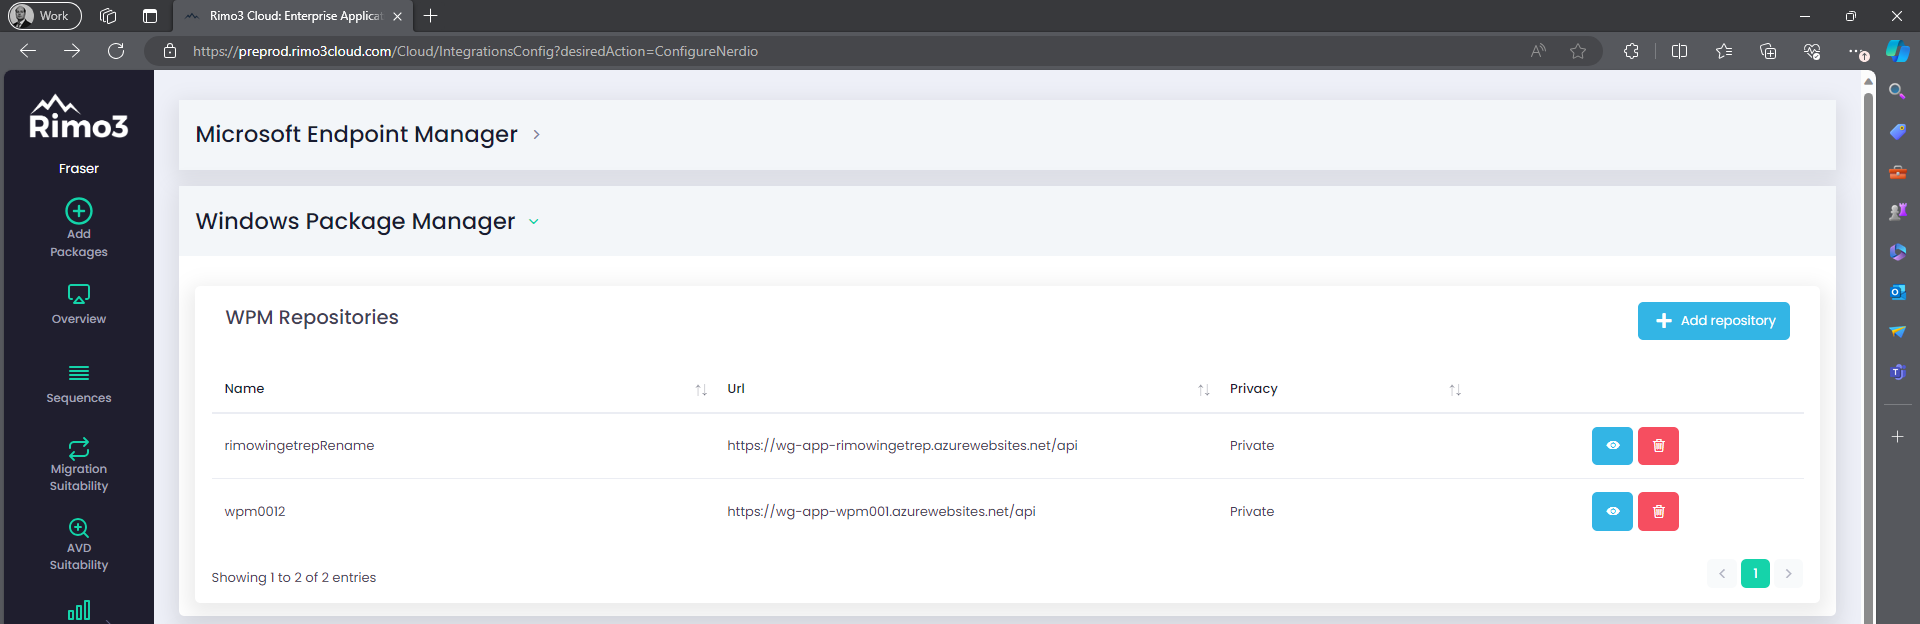
-
To review any WPM repositories that have been added from NME refresh the Integrations page and expand Windows Package Manager
-
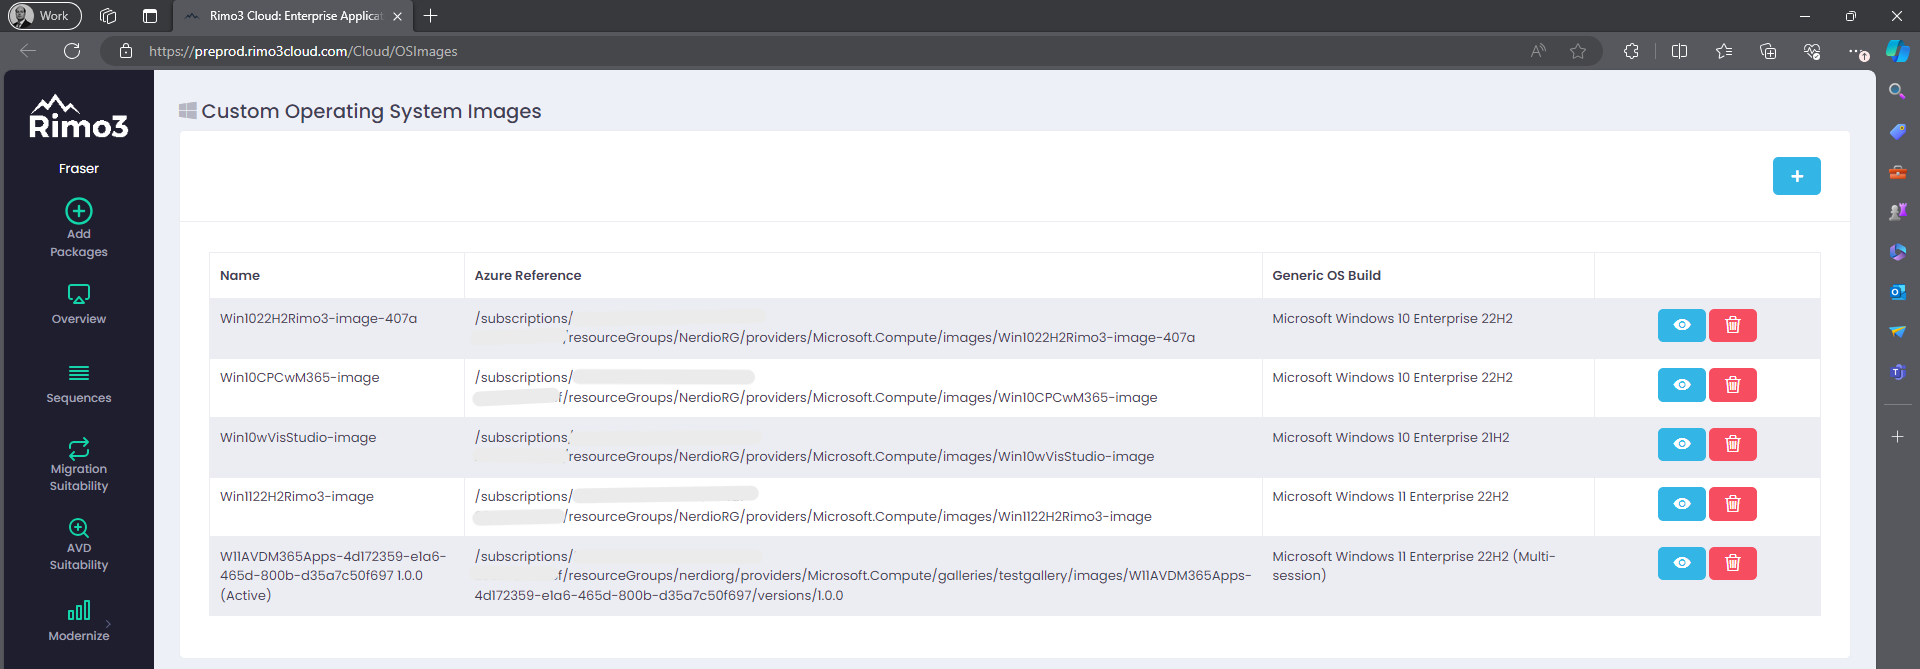
To review any custom images that have been added from NME click on Advanced and Select Custom Images or browse to Custom Images
Granting your Rimo3 tenant rights to export to a WPM repository
After adding a new Nerdio Manger instance or manually syncing with an existing Nerdio Manager instance you will need to grant your Rimo3 tenant rights to any new WPM repositories before you can export applications to them.
-
In your Rimo3 tenant browse to Advanced -> Integrations
-
On the Integrations Hub page select Configure under Windows Package Manager
-
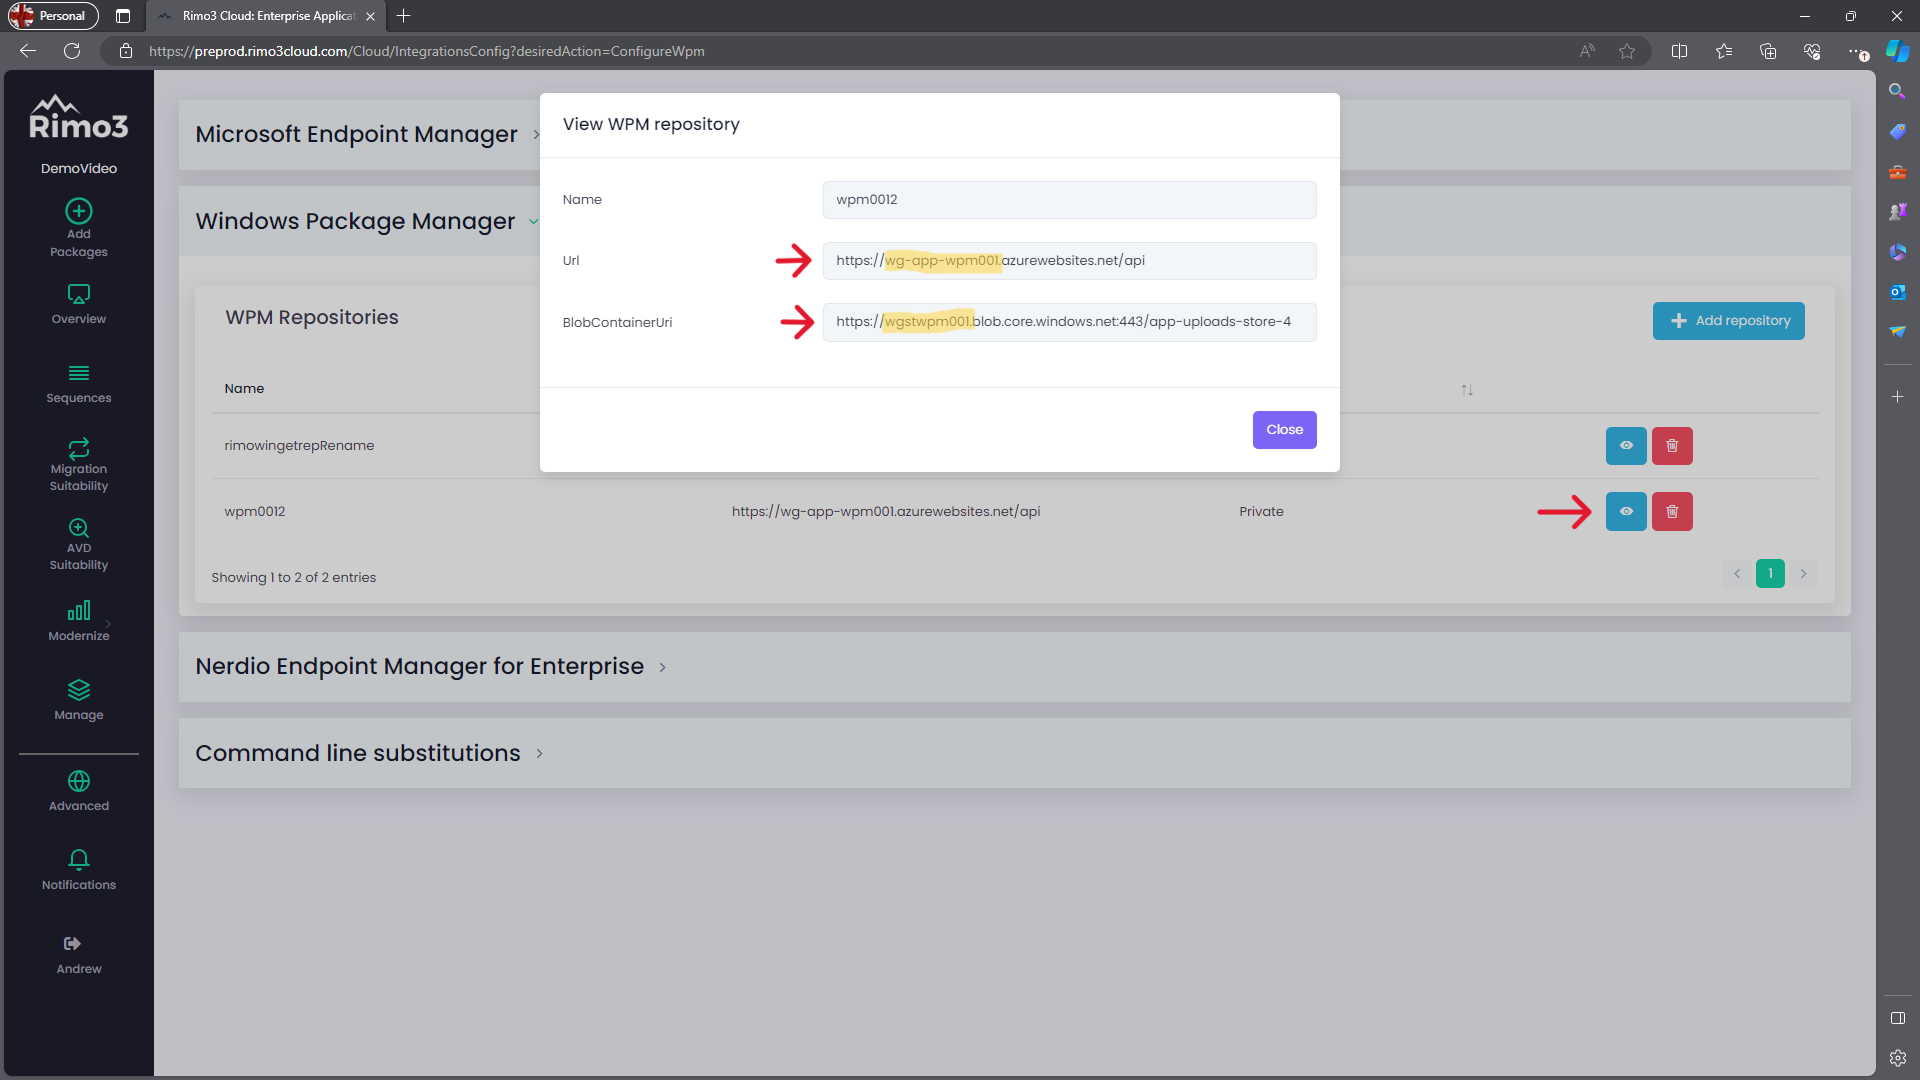
On the Integrations page select the eye icon next to the WPM repository you want to permission, and make a note of the Function App name in the Url field and the Storage Account name in the BlobContainerUri field
-
Switch to Azure and browse to the resource group containing the Function App and Storage Account, typically this would be the Nerdio Manager for Enterprise resource group.
-
Open the Function App
- Select Access Control (IAM), then click on Add and select Add role assignment
- On the Role tab search for Contributor, then select Logic Apps Standard Contributor (Preview) and click on Next
- On the Members tab select Managed Identity, then click on + Select members
- On the fly in select Virtual Machine under Managed Identity, search for and select the Rimo3 Gateway VM, click on Select
- Click on Review + assign
- Click on Review + assign again
- Expand Notifications and ensure the role assignment completes successfully
-
Browse back to the resource group and open the Storage Account
- Select Access Control (IAM), then click on Add and select Add role assignment
- On the Role tab search for Contributor, then select Storage Account Contributor and click on Next
- On the Members tab select Managed Identity, then click on + Select members
- On the fly in select Virtual Machine under Managed Identity, search for and select the Rimo3 Gateway VM, click on Select
- Click on Review + assign
- Click on Review + assign again
- Expand Notifications and ensure the role assignment completes successfully
-
The Rimo3 Gateway now has permission to export apps to the WPM Repository.
Manually syncing with NME
You can manually synchronize any configured Nerdio Manger instance to add any new WPM repositories and/or desktop images from NME.
-
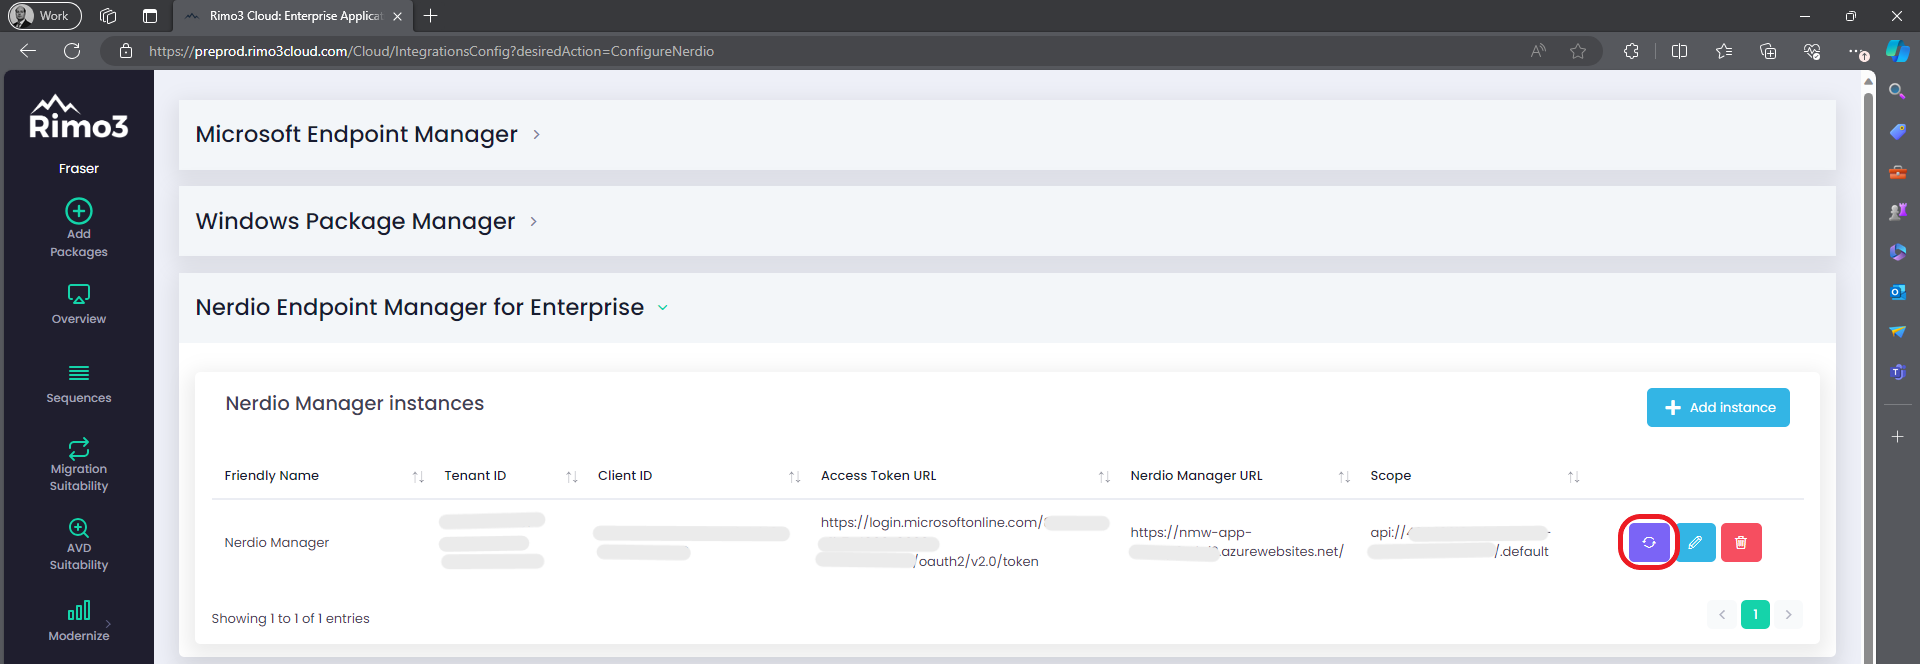
Browse to the integrations page and expand Nerdio Manger
-
Click on the purple sync button and when prompted click OK to start the sync
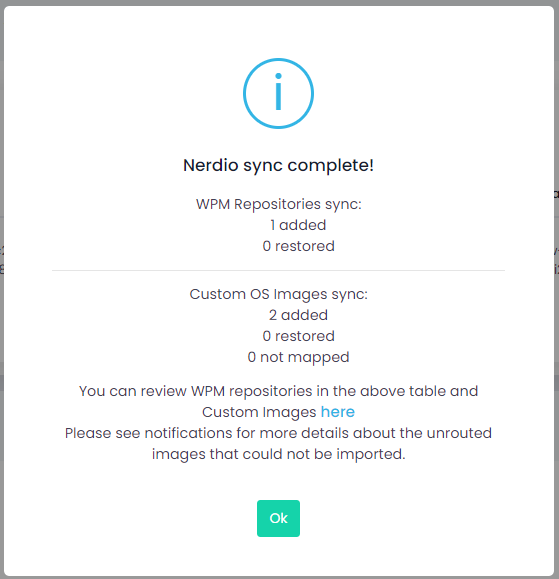
- When the sync completes a popup will be displayed confirming what WPM repositories and custom images were added.
Note:
When syncing with Nerdio Manager WPM repositories and custom images that are no longer available in NME will not be deleted from you Rimo3 tenant in case they are currently being used. Any WPM Repositories or custom images that are no longer needed can be manually deleted from the Rimo3 tenant. However, if you delete a WPM repository or custom image from your Rimo3 tenant and it is still configured in Nerdio Manager the deleted resources will be restored the next time you sync with that NME instance
Info:
Any custom images that could not be added will be listed as not mapped. You can review notifications for further details of why the image(s) could not be added.